On the 24th of October, I published
a blog post with 17 possibilities for new faces on our refrigerator doors. I wanted to leverage a concept I'd heard about from
Jon Vermilye. Our 6.5 cubic foot Dometic would require a laminated poster 20 inches wide and 46.6 inches high.
Based on the quick feedback from readers and our personal (but differing) preferences, I ordered two posters with matte laminate from
PosterBrain in Denver, Co. I placed the order over the weekend, and received the two posters the following Friday. They had been carefully wrapped in tissue and packed in a strong mailing tube, sent express post.
I laid the two posters out on the floor for a first look. Both of these posters were based on photographs that were 4000 pixels in the vertical direction. I'm glad I didn't chose one of the photos that was only 3000 pixels vertically - I think it would have been pushing it.
In our case, the doors are faced with white Masonite. Once the piece is slide up out of the bottom framing, it can be flexed in the middle to remove the face sheet from the door. I didn't have to do that but I wanted to see how difficult it might be to remove them if I chose to dry mount the posters to the face sheet.
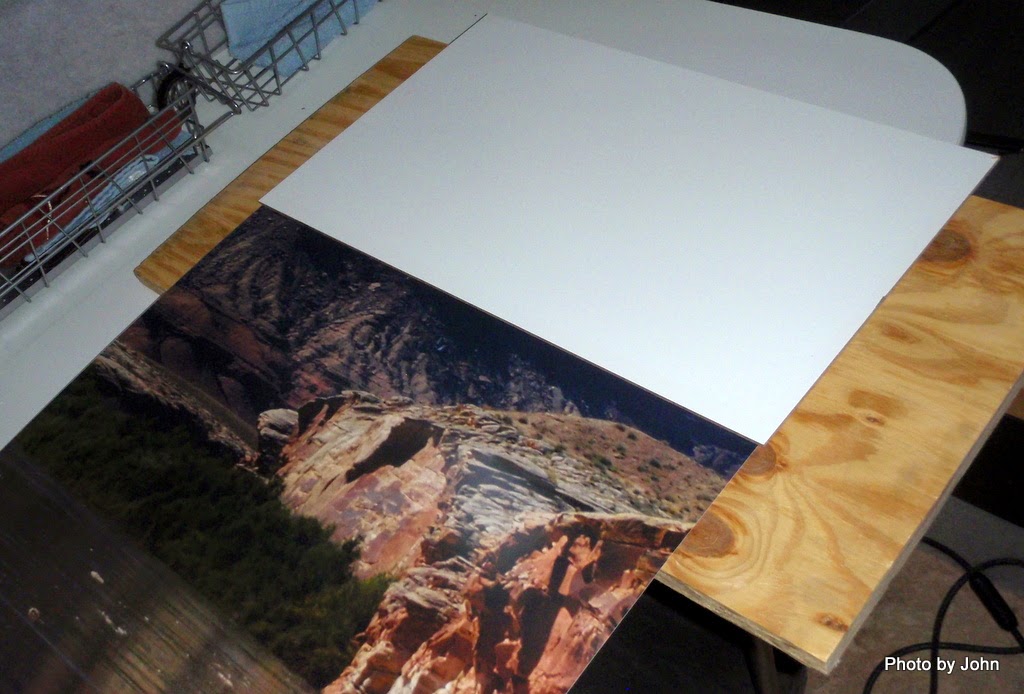
Last look at the complete poster before surgery.
Since I had it out, I used the upper face sheet as the pattern for cutting the top section from the poster.
I put the face sheet back in place, and then slid the poster section into place. It is sized so that it matches the Masonite, and sits all the way down in the bottom of the door frame. On this piece, the poster is only held in place by the framing of the door.
The lower section went in place in the same manner. The only change was that I used a small amount of Donna Dee's
favorite clear adhesive/sealant* on the back at the top center of the poster before reinstalling the upper trim piece to insure that the poster wouldn't shift from side to side in the frame. Once again, the poster section is sized to fit all the way down into the bottom portion of the door frame.
This has been the simplest project to date. It took less than 30 minutes to cut and install the two pieces. Our final decision choosing the Buttes of the Cross photo was because it played best with the grey/blue stock cushions, tan curtains and floor.
* Silicon sealant which has no other place in fiberglass RVs.


Looks great I really like it!
ReplyDeleteThanks, Sondra! We're real pleased with how it turned out.
DeleteDonna Dee's favorite... HA! The Devil's Bane ;-)
ReplyDeleteI just had to fess up! ;-)
DeleteWhat a great idea! Now you can always feel like you're gliding down the river!
ReplyDeleteThis way I can bring our own river when we camp on the desert. And it's easy to change if we get a photo that we like better.
DeleteVery neat...choice turned out great with the break as well!
ReplyDeleteThanks, Ellen. The way the photo fit with the break is what originally attracted BJ.
Delete