I got together with Kathy to scarf the two pieces of plywood together so she could start laying out the pieces for the hull. The idea is to cut the ends of the plywood on a consistent 8:1 slope. The scarfing can be done with a variety of tools, but I chose to remain consistently lazy.
It took a few minutes to make a jig for the router so that we could use the router for cutting the scarf slope. It has a piece that butts up against the edge of the chipboard and a piece of the same plywood as we're scarfing that serves as a spacer.
The plans call out for thicker waterproof plywood that is only glassed on one side. We're using door skins, and will glass it on both sides by the time the hull is completed. Our grey tape suffered a color shift, but works great to minimize squeeze-out on the face of the plywood.
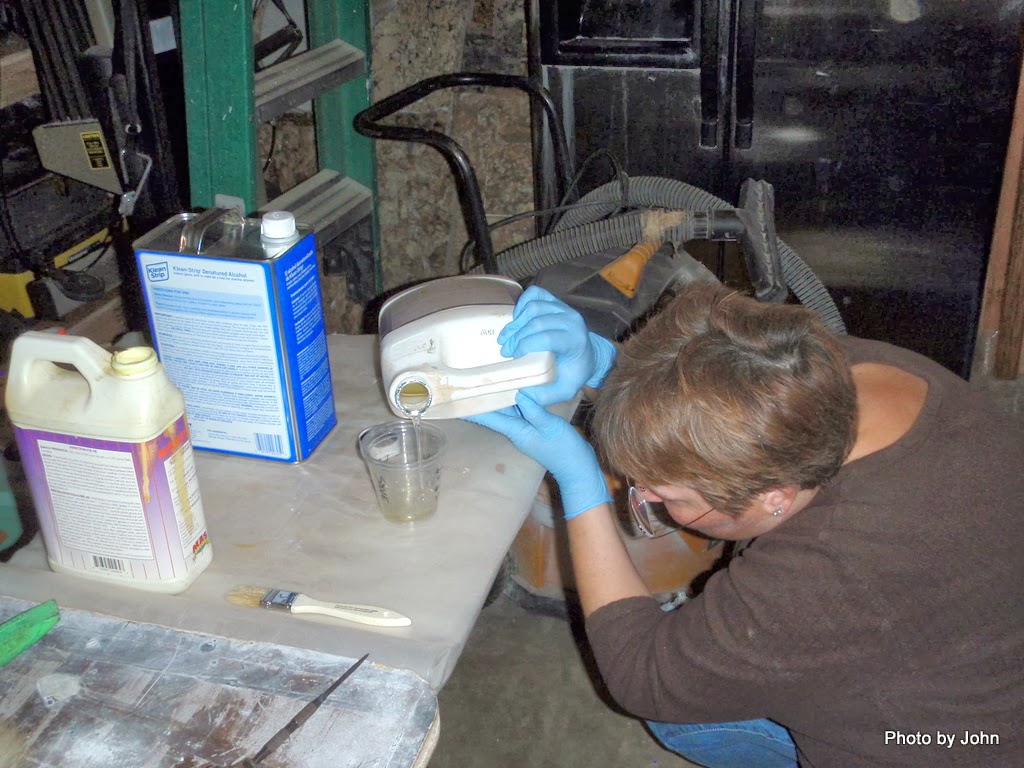
I had some MAS 2:1 epoxy in stock that a friend gave me so we'll use it up before switching to my favorite -
Raka 2:1 thin non-blushing epoxy. Kathy is mixing up 3 tablespoons worth to wet out the edges that we're gluing. Once she did that we mixed wood flour into the remaining epoxy and applied the thickened epoxy to one side of the joint.
We flipped one piece of the plywood over so the slopes intersected, carefully lined it up, and clamped the sheets so they couldn't move. Then we put a piece of freezer paper over the joint and stacked weight directly on the joint while it cured.
Once we got the main pieces scarfed, we laid out the two bulkheads (the plans only call for a rear bulkhead) and the coaming base on a piece of Baltic birch plywood. Because the light plywood stains easily, we're going to glass both sides before we start assembling the boat.
Next steps will be to lay out the hull pieces, glass the inside, and then cut out and assemble the pieces.


No comments:
Post a Comment